“`html
How to Photograph Food Like a Pro
Capturing the beauty of a well-prepared meal is an art form, combining creativity, technical skills, and a deep understanding of aesthetics to transform culinary experiences into visual masterpieces. Whether you’re an aspiring food photographer or a seasoned pro, continuously refining your techniques is key to producing images that tantalize taste buds through the lens. This guide will delve into essential food photography techniques, offering practical tips and camera settings that will elevate your images. From selecting the perfect background to mastering light, discovering unique compositions, and getting to grips with professional settings, we’ll equip you with the skills you need to take delicious shots. Ready your camera; let your creativity simmer and serve visually tasty treats that look as good as they taste.
How to take food photos
1. Choose your background
The background sets the scene for your food photographs and can significantly impact the overall mood of the image. Start by selecting backgrounds that complement the food without overpowering it. Neutral tones such as whites, creams, and soft pastels generally work well, providing a clean slate that lets the food take center stage. Alternatively, rustic wooden surfaces or solid bright colors can add a unique touch to your shots, offering context and character while keeping the focus on your dish.
Consider texture and contrast when picking a background. A glossy, modern surface may suit a sleek, minimalist dish, while a rough, vintage wood backdrop could enhance the appeal of home-cooked comfort food. Experiment with different materials like tablecloths, cutting boards, or tiles, and don’t be afraid to get creative to find what best complements your subject.
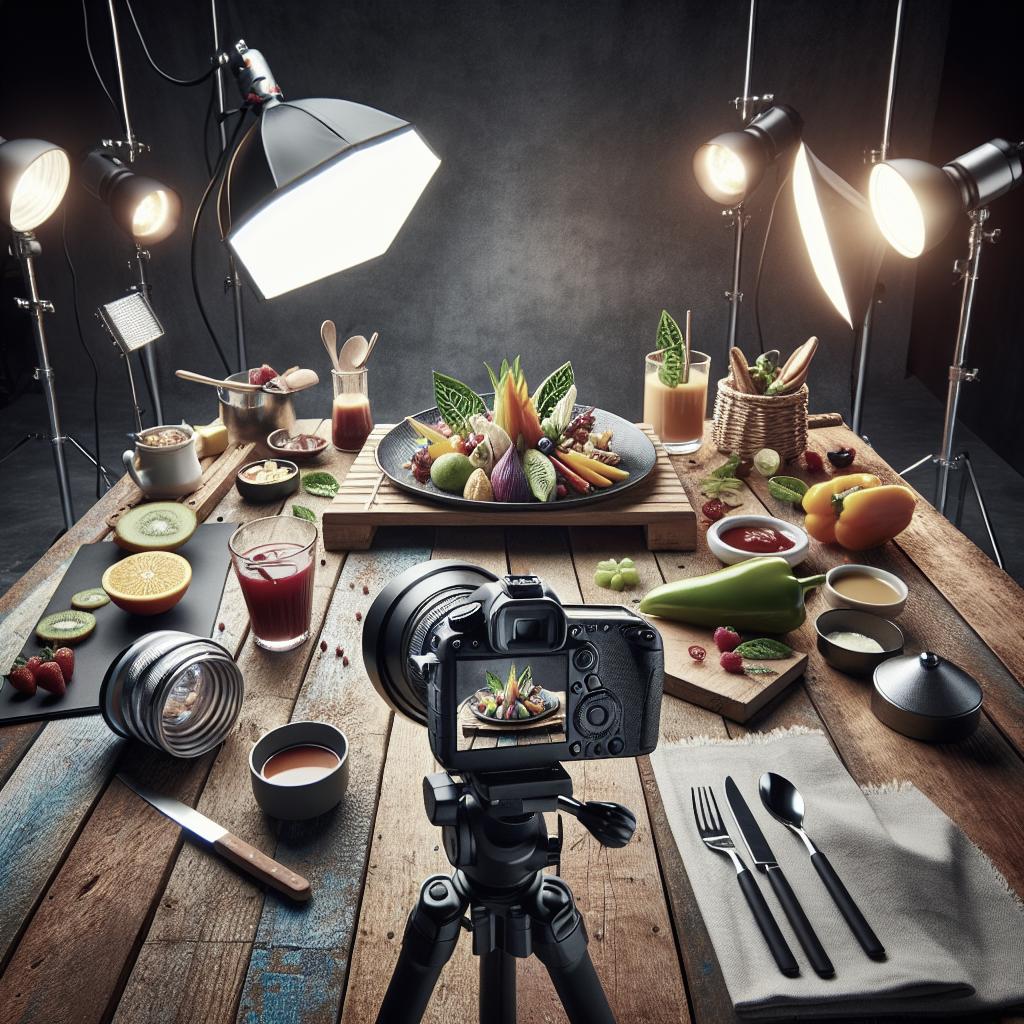
2. Get the lighting right
Lighting is the backbone of any great food photo. Natural light is often preferred for its soft, natural qualities that make colors pop and textures appear realistic. Position your food near a window but avoid direct sunlight which can create harsh shadows. If natural light is scarce, artificial lighting like softboxes or LED panels can effectively simulate daylight.
Pay attention to the angle and quality of light. Side lighting can create depth and make the food look more three-dimensional, whereas backlighting can highlight translucent elements such as drinks or delicate garnishes. Using reflectors to bounce light effectively fills in shadows, maintaining a balanced and appealing scene.
3. Compose your shot
Composition is the art of arranging elements in your frame, and it plays a crucial role in directing the viewer’s attention. Start by following the rule of thirds; imagine dividing your frame into a grid of nine parts and place your main subject along these lines or at their intersections. This helps create balance and adds interest.
Leading lines and negative space can be powerful tools. Consider using utensils, napkins, or other elements of the table setting to guide the viewer’s eye through the composition. Allow some breathing space around your main dish with negative space to keep the focus on the food. Experiment with angles, trying overhead shots for flat dishes or a 45-degree angle for a more dynamic view of layered foods.
4. Stabilize your camera
Keeping your camera steady ensures crisp, sharp images, which is vital for capturing the intricacies of food. A tripod is an invaluable companion, allowing you to maintain a consistent frame while enabling you to adjust your composition or lighting without altering your setup.
If you don’t have a tripod, stabilize your camera by resting it on a solid surface or using a beanbag. Mini tripods or clamps are compact alternatives that provide stability without taking up much space. Remember to use a timer or remote shutter release to avoid camera shake when pressing the shutter button.
5 food photography tips
1. Experiment with lenses
Lenses can greatly influence the look and feel of your food photos, with different options providing distinct effects. A standard 50mm lens captures a field of view similar to the human eye, making it versatile for various compositions. For more dramatic, close-up shots that emphasize detail and texture, macro lenses are ideal, allowing you to get up close and personal with your subject.
Wide-angle lenses can offer creative perspectives, especially when shooting from lower angles or capturing a bountiful spread. Consider using prime lenses for their superior sharpness and ability to achieve a crisp depth of field, isolating the main subject with beautifully blurred backgrounds.
2. Play with light filters and modifiers
Light filters and modifiers are your gateway to controlling and shaping light to create the perfect mood for your food shots. Diffusers soften the light, producing gentle shadows that lend a natural feel to your images. Reflectors, by contrast, bounce light back onto your subject, filling in dark areas and achieving balance.
Colored gels can be applied to your light sources to adjust the temperature or tone, adding an artistic flair or mimicking different lighting conditions. Experimenting with these tools helps develop a style that resonates with your vision and enhances the appeal of your culinary creations.
3. Practice focus stacking
Focus stacking is a technique where multiple shots are taken at varying focus distances and then merged to create an image with a greater depth of field. This method is particularly useful in food photography, allowing you to showcase the intricate details of the dish, from the foreground to the background, in sharp focus.
Begin by stabilizing your camera and taking several shots, carefully adjusting the focus between each one. You can then use photo editing software to combine these images, resulting in a final photograph that is richly detailed and visually compelling. This approach can elevate the sophistication of your work, highlighting the preparations and textures of your food subjects.
4. Use a color checker
A color checker is an essential tool for achieving accurate color rendition in your photographs. It ensures that the lighting conditions or camera settings do not distort the true colors of the food, which is especially important when dealing with vibrant ingredients or intricate dishes.
Place the color checker in the frame before taking your shots to provide a reference point for color correction later in post-production. This ensures that the colors remain consistent and true to life, giving your images a professional quality that is crucial in food photography.
5. Monitor your images
Regularly reviewing your shots during a photo session can save you time and effort in the editing phase. Zoom in on key areas to check for sharpness, exposure, and composition, making sure everything aligns with your vision before wrapping up the shoot.
Use a calibrated monitor to assess colors accurately, ensuring your final images reflect the true vibrancy and beauty of the food. Keeping an eye on your progress helps you make necessary adjustments and refine your approach in real-time.
What settings should I use for food photography?
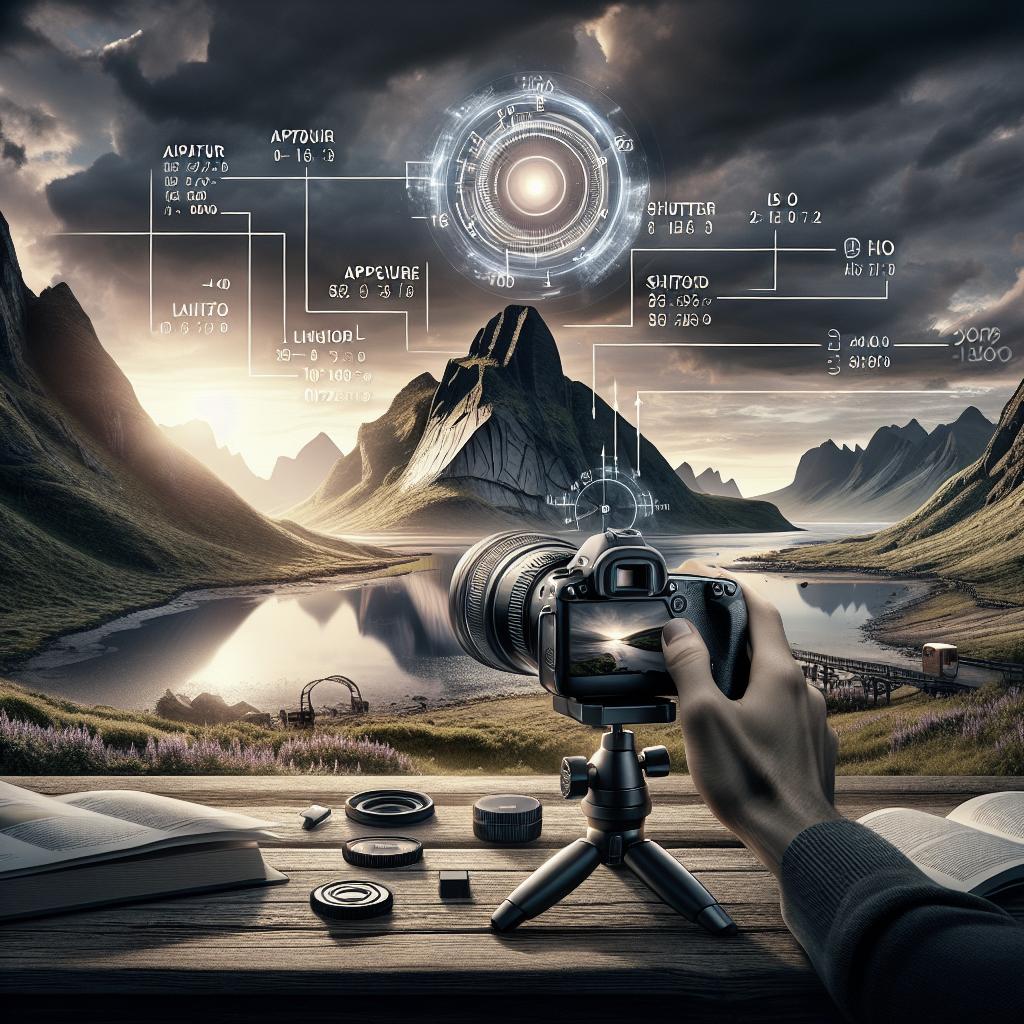
Aperture
Aperture controls the depth of field in your photographs, with lower f-stop values resulting in blurred backgrounds and sharper focus on the subject. For food photography, a shallow depth of field allows you to emphasize specific details, drawing the viewer’s eye to the most appetizing elements of the dish.
Experiment with different aperture settings to find what works best for each dish, balancing how much of the scene you want in focus against your creative intent. Wide apertures (e.g., f/1.8 or f/2.8) can create elegant bokeh effects, while narrower settings (e.g., f/8) ensure more of the food remains sharp.
Shutter Speed
Shutter speed influences the amount of light that reaches the camera sensor and can affect the sharpness of your images. In food photography, a fast shutter speed mitigates blurriness from any potential camera shake, ensuring clean, clear images.
When using a tripod, you have the flexibility to use slower shutter speeds to capture more light, particularly in low-light environments. Assess the lighting conditions and adjust your shutter speed accordingly to achieve the desired exposure while maintaining sharpness.
ISO
ISO settings determine the camera sensor’s sensitivity to light. Lower ISO values like 100 or 200 are ideal for food photography, minimizing noise and preserving image quality. In low-light situations, you may need to increase ISO to maintain proper exposure, but be cautious of introducing digital noise.
Strike a balance between exposure, noise, and image quality by keeping ISO as low as possible, adjusting aperture and shutter speed first before turning to ISO settings.
White Balance
White balance is critical in food photography, where color accuracy is paramount. Incorrect white balance can render unappetizing hues, misrepresenting the true colors of the dish. Use pre-set white balance settings according to the light source or manually adjust to ensure tones are natural and true-to-life.
Custom white balance settings, achieved by using a gray card, can provide precise calibration. This process ensures consistency across your portfolio and maintains the visual integrity of your images.
Read more
Photography is a vast field with endless possibilities for exploration. Continue to hone your craft by reading more about advanced photography techniques, equipment reviews, and inspiring photographers. Engaging with community forums and online photography courses can also provide valuable insights and feedback on your work.
Consider investing time in experimenting with different photography styles and subjects beyond food, broadening your horizons and skill set. Capturing the nuances of various subjects can improve your overall technique and artistic expression, enriching your food photography journey.
How to take food photos FAQ
How do you take good pictures of food?
Taking good pictures of food requires attention to detail and a creative mindset. Focus on composition, lighting, and background to highlight the best features of your dish. Experiment with camera angles to find the most flattering perspective, and use props and garnishes to add context and interest.
Keep your shots simple and clean, removing distractions from the frame to let the food stand out. Continuously practice and analyze your work to identify areas for improvement, drawing inspiration from professional photographers and food styling techniques.
How do you take food pictures without shadows?
Minimizing shadows involves careful lighting and positioning. Use diffused natural light or soft artificial light sources to create gentle, even illumination across the scene. Reflectors can be positioned opposite your light source to bounce light back onto the subject, filling in shadows effectively.
Experiment with different light angles to find what best reduces shadows while enhancing the food’s appearance. Adjustments during post-processing can also help lighten shadows and reveal details hidden by unfavorable lighting.
What camera settings should I use for food photography?
Ideal camera settings for food photography vary based on lighting and creative goals, but starting points include a low ISO (100 or 200) for minimal noise and a wide aperture (f/2.8 to f/5.6) for depth of field. Use a shutter speed appropriate for your lighting conditions, adjusting as needed to achieve sharp, well-exposed images.
White balance should be set accurately to represent the food’s true colors, either through preset options for your light source or custom settings. Experiment with these settings while keeping your composition in mind for the best results.
| Key Concepts | Details |
|---|---|
| Background Choice | Complements food; neutral tones; interesting textures |
| Lighting | Prefer natural light; avoid direct sun; use reflectors |
| Composition | Rule of thirds; leading lines; negative space |
| Camera Stabilization | Use tripod or stable surfaces |
| Lens Choice | 50mm or macro lenses for detailed shots |
| Light Modifiers | Diffusers, reflectors, and colored gels |
| Focus Stacking | Combine shots for greater depth of field |
| Color Accuracy | Use color checker; adjust white balance |
| Camera Settings | Low ISO; appropriate aperture and shutter speed |
“`