“`html
Mastering Product Photography: Best Practices Revealed
In today’s e-commerce-driven world, top-notch product photography is critical for success. Well-crafted images not only showcase your goods in their best light but also help build your brand’s credibility. This comprehensive guide delves into the essentials you need to grasp product photography. From equipment like cameras and tripods to mastering optimal lighting conditions, we’ll cover all the bases. You’ll discover step-by-step instructions for shooting on a white background and learn expert tips to elevate your photography. Finally, we’ll ensure you’re well-versed in maximizing your product photos’ impact and address common questions in our FAQ section.
Essential Equipment for Product Photography
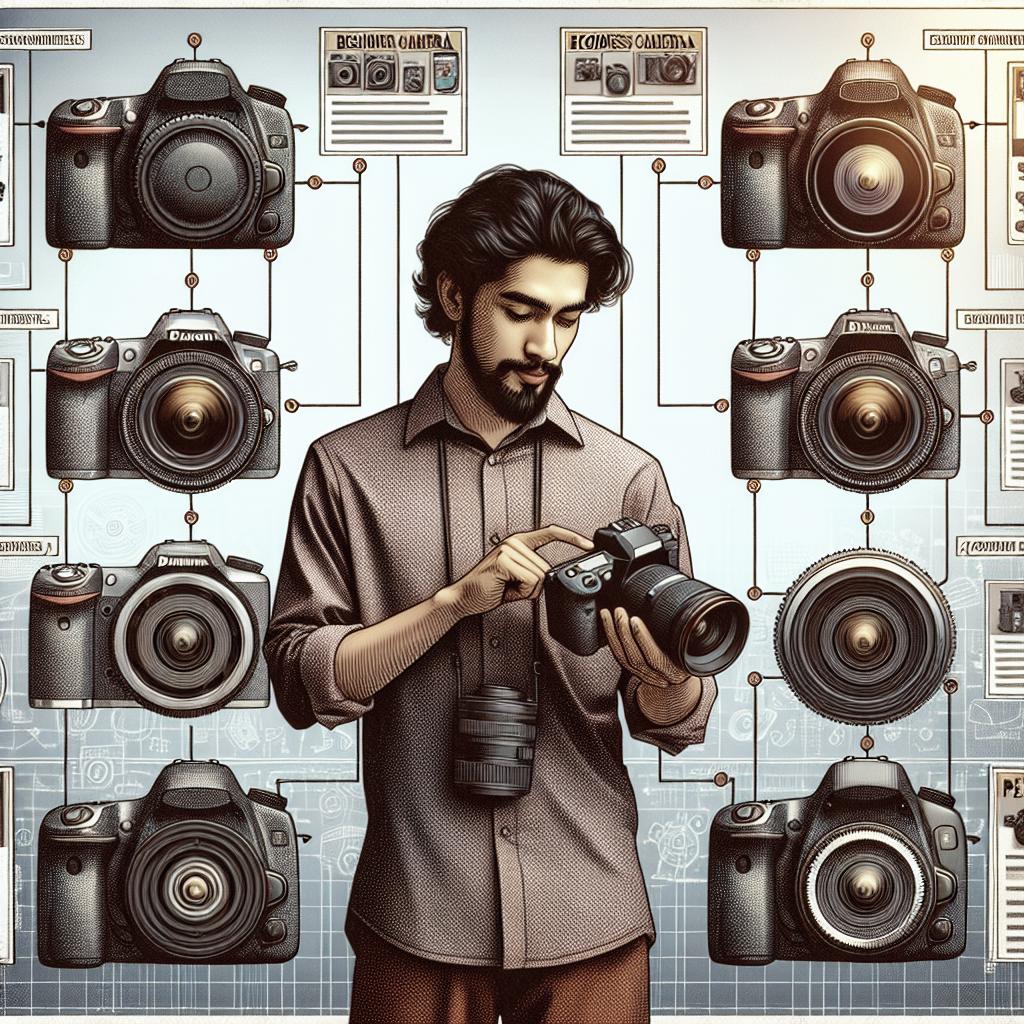
Camera
A good camera is the cornerstone of high-quality product photography. While professional DSLR cameras offer numerous adjustable settings to improve photo quality, modern smartphones have also become capable tools with advanced cameras catering to various needs. Determine your budget and requirements before investing in a camera. Research the top options within your range, focusing on resolution, ease of use, and connectivity options.
Tripod
Stability is key when capturing sharp, clear product photos. A sturdy tripod prevents camera shake, ensuring consistent framing and focus across multiple shots. Look for a tripod with adjustable height and a rotating head to cater to different angles and perspectives. This essential tool preserves uniformity and professionalism in your images.
White Background
Utilizing a white background emphasizes your product while maintaining a clean and professional appearance. It reflects light well and provides flexibility during post-processing. Options for creating a white background include purchasing a backdrop, using white paper, or opting for a portable setup for on-the-go photography sessions.
Table
A stable surface is necessary for arranging your product setup. A table allows you to organize your items efficiently while offering a level platform for your camera tripod. Consider an adjustable-height table to accommodate different types of products and setups seamlessly.
Tape
The often-overlooked yet invaluable tool in your photography arsenal is tape. Use it to secure your backdrop in place, fasten objects, or create guidelines to align your composition perfectly. Keep a variety of tapes handy, such as painter’s tape or gaffer’s tape, to ensure fuss-free adjustments.
Lenses
The type of lens you select can significantly alter your product’s portrayal. A macro lens captures exquisite detail, perfect for close-up shots, while a standard lens can highlight larger goods effectively. Evaluate your inventory and find lenses that align with your specific product photography goals.
Lightbox
A lightbox is an enclosed environment that diffuses lighting around the product, resulting in an evenly illuminated image with minimal shadows. Lightboxes come in various sizes, making them suitable for different product dimensions. Investing in this equipment can greatly enhance your product photos’ quality and consistency.
Props
While minimalism is often effective, the strategic use of props can add context or flair to your product photos. Props should complement, not overshadow, the main subject. Ensure they align with your brand’s style and enhance the product’s story, enhancing overall visual appeal.
Optimal Lighting Conditions
Proper lighting is crucial for capturing your product’s true essence. Natural light is ideal, providing a soft, warm illumination that is often hard to replicate artificially. If natural light is unavailable, use softbox lights or continuous lighting setups to achieve balanced results.
How to Take Professional Product Photos on a White Background
Step 1: Set Up Your Table
Begin by positioning your table near a natural light source, like a window, for ideal soft lighting. Ensure the table is stable, and arrange it to provide enough space for your product setup, allowing easy access to every element you’ll be working with.
Step 2: Set Your Sweep
Attach your white background sweep, ensuring it is securely held in place. The sweep should curve smoothly from vertical to horizontal, creating an infinity curve that eliminates harsh lines or transitions in the background. Achieving a seamless sweep adds to the professional appearance of your photos.
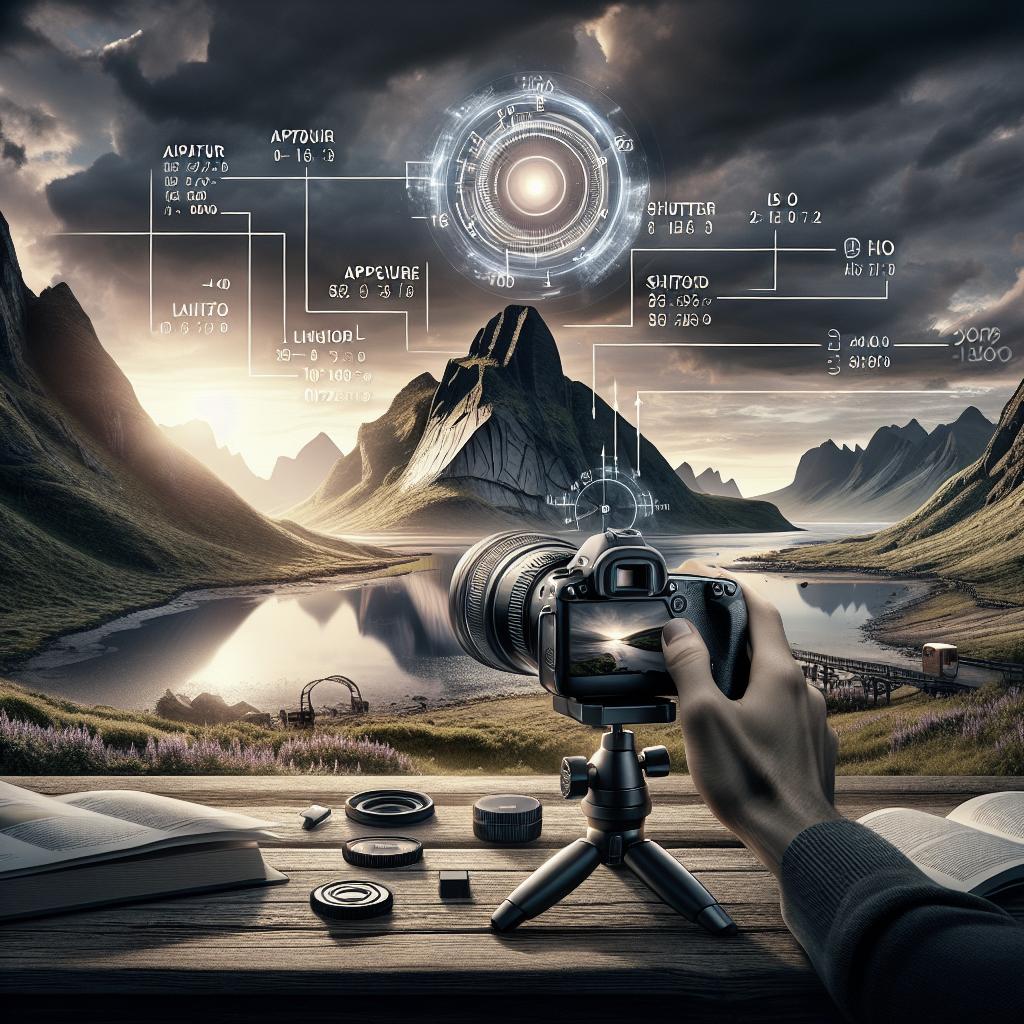
Step 3: Adjust Your Camera
Once your setup is complete, adjust your camera settings to suit the lighting conditions. Set your camera to an appropriate aperture, ISO, and shutter speed to capture sharp and well-exposed images. Use the tripod to lock the camera into place for consistent shots throughout the session.
Step 4: Set Up Your Product
Position your product in the center of the table, allowing enough space around it for framing. Pay attention to placement and orientation, ensuring that the product’s most appealing or defining features are visible. Adjustments might be necessary to showcase the product’s essence fully.
Step 5: Set Up the Reflector Card
A reflector card helps fill in shadows and balance light across the product. Place it opposite your primary light source to bounce light back onto the product, providing a more even exposure. Experiment with angles and distances to achieve the optimal lighting balance.
Step 6: Take the Picture and Evaluate
Capture your product’s image and evaluate the outcomes. Inspect key aspects such as sharpness, lighting, and composition. Utilize your camera’s display and histogram tools to verify proper exposure. Make necessary adjustments to lighting and composition, iterating until satisfied.
Step 7: Retouch Your Pictures
Post-processing is vital to refine your product images. Use photo editing software like Adobe Lightroom or Photoshop to adjust exposure, contrast, and color balance. Remove any blemishes or imperfections to ensure your product appears polished and inviting to potential customers.
Step 8: Optimize Images for Your Website
Finally, optimize your images for web use. Reduce file size without sacrificing quality to enhance loading times, benefiting customer experience and SEO. Properly label and tag your photos, incorporating relevant keywords aligned with your product’s brand, to boost discoverability online.
Expert Product Photography Tips
Use Window Light vs. Lightbox
The choice between window light and a lightbox depends on the product and desired aesthetics. Window light provides a natural, soft illumination that’s often less harsh, while a lightbox offers consistent, controlled lighting conditions. Test both to discern what best suits your creative vision and product characteristics.
Use Foam Boards
Foam boards serve as efficient, low-cost tools to manipulate lighting in your photography setup. Use them as reflectors to fill in shadows or create barriers to diffuse harsh light. Their versatile nature can enhance the three-dimensional appearance of products, making them a valuable addition to your equipment list.
Learn Basic Photo Editing Techniques
Proficiency in basic photo editing allows you to elevate your product images’ quality. By mastering tools like cropping, level adjustments, and retouching, you create a more appealing presentation. Regular practice and exploring online tutorials enable continuous improvement in presenting your products professionally.
Shoot Multiple Angles
Featuring various angles in your product photography provides customers with a comprehensive understanding of the product. Capture front, back, top, and side viewpoints, along with detailed close-ups of unique features. This approach increases customer trust and helps reduce return rates.
Try Other Types of Product Photography
While white-background shots are standard, experiment with lifestyle or environment-based photography for more context. Showcasing products in real-world settings or with models can connect emotionally with customers. This variation demonstrates versatility and expands your brand’s visual storytelling.
Consider Hiring Help
If photography isn’t your forte or you’re managing a large inventory, consider hiring a professional photographer. Professional expertise can make a significant difference in image quality, delivering polished photos that reflect your brand’s standards and values, potentially increasing conversion rates.
Write Great Product Descriptions
Complement your photos with engaging and informative product descriptions. Highlight key features, benefits, and unique selling points to bolster the visual appeal. A well-written product description attracts customers’ attention and enriches their shopping experience, increasing the likelihood of purchase.
Maximizing Your Product Photos
Maximizing your product photos involves continuous evaluation and adaptation of your techniques. Regularly update your skills, equipment, and editing software to reflect current trends and technological advances. Constant refinement of images and their presentation on the website remains vital for maintaining competitiveness and customer engagement.
Read More
Enhance your knowledge with additional resources on product photography, including online courses, photo editing tutorials, and photography communities. Engaging with a network of photographers can inspire new ideas and foster skill advancement, further honing your proficiency in product imaging.
Product Photography FAQ
What is Product Photography?
Product photography pertains to capturing images of goods intended for sale, emphasizing their best features. This type of photography is pivotal in e-commerce and marketing, presenting the product attractively and accurately to encourage purchases.
Do Product Photographers Make Money?
Yes, product photographers can earn a lucrative income. The demand for high-quality images for online marketplaces, print media, and advertising creates numerous opportunities. Building a strong portfolio, continuous learning, and networking can enhance earning potential in this field.
What is the Best Type of Camera for Product Photography?
While various cameras are suitable for product photography—ranging from DSLRs to modern smartphones—consider those offering high resolution and manual settings to control exposure and depth of field. A camera with interchangeable lenses provides versatility for different product types.
What Do You Need for a Product Photography Setup?
A basic product photography setup necessitates a camera, tripod, white background, and proper lighting. Additional items like lenses, reflectors, and a lightbox can further enhance image quality. Tailor your setup according to product specifics and desired outcomes.
How Can I Shoot Product Photography at Home?
Shooting product photography at home is feasible with the right setup. Create a space with natural light exposure, use a table and a white backdrop to arrange products, and utilize your camera settings for optimal shots. Post-processing can elevate homemade setups to professional standards.
How Do You Shoot Product Photos?
For shooting product photos, establish a controlled environment with stable lighting, arrange the product thoughtfully, and use a tripod for stability. Adjust camera settings as needed, and take multiple shots and angles to select the best representation. Editing and optimizing images finalize the process.
Summary of Main Points
| Section | Highlights |
|---|---|
| Essential Equipment | Camera, tripod, white background, lenses, lightbox, and optimal lighting are key. |
| Shooting Professional Photos | From setup to retouching, follow step-by-step guides to achieve pristine product images. |
| Expert Tips | Leverage diverse setups, angles, editing skills, and consider hiring professionals. |
| Maximizing Photos | Continuous improvement and adaptation to trends ensure your photos remain competitive. |
| FAQs | Learn about the importance of product photography, necessary equipment, and shooting tips. |
“`